Everyone wants a “perfect sandwich”-few people want to slow down long enough to build one.
When you search for sandwich ideas, you usually end up with questions like: What bread should I use? How do I keep it from getting soggy? What order do I layer everything in? And the unglamorous truth: execution beats inspiration.
Good sandwiches are simple systems-bread, texture, heat (if any), and balance. For a useful baseline on safe food handling and temperature guidance, see USDA Food Safety and Inspection Service, and for general food safety principles you can also reference the CDC Food Safety and the FDA Food pages.
By the end of this guide, you’ll have a repeatable step-by-step method to craft a great sandwich from scratch-plus flavor ideas you can remix at home.
Step-by-step: Crafting the perfect sandwich
-
Start with a build plan (5 minutes).
Pick a theme (crunchy, creamy, spicy, smoky) and choose three components: something solid (protein or main), something juicy (sauce, dressing, tomatoes), and something structural (cheese, slaw, pickles, greens). If you can describe those three parts, the sandwich will practically assemble itself.
-
Choose bread that matches your heat level.
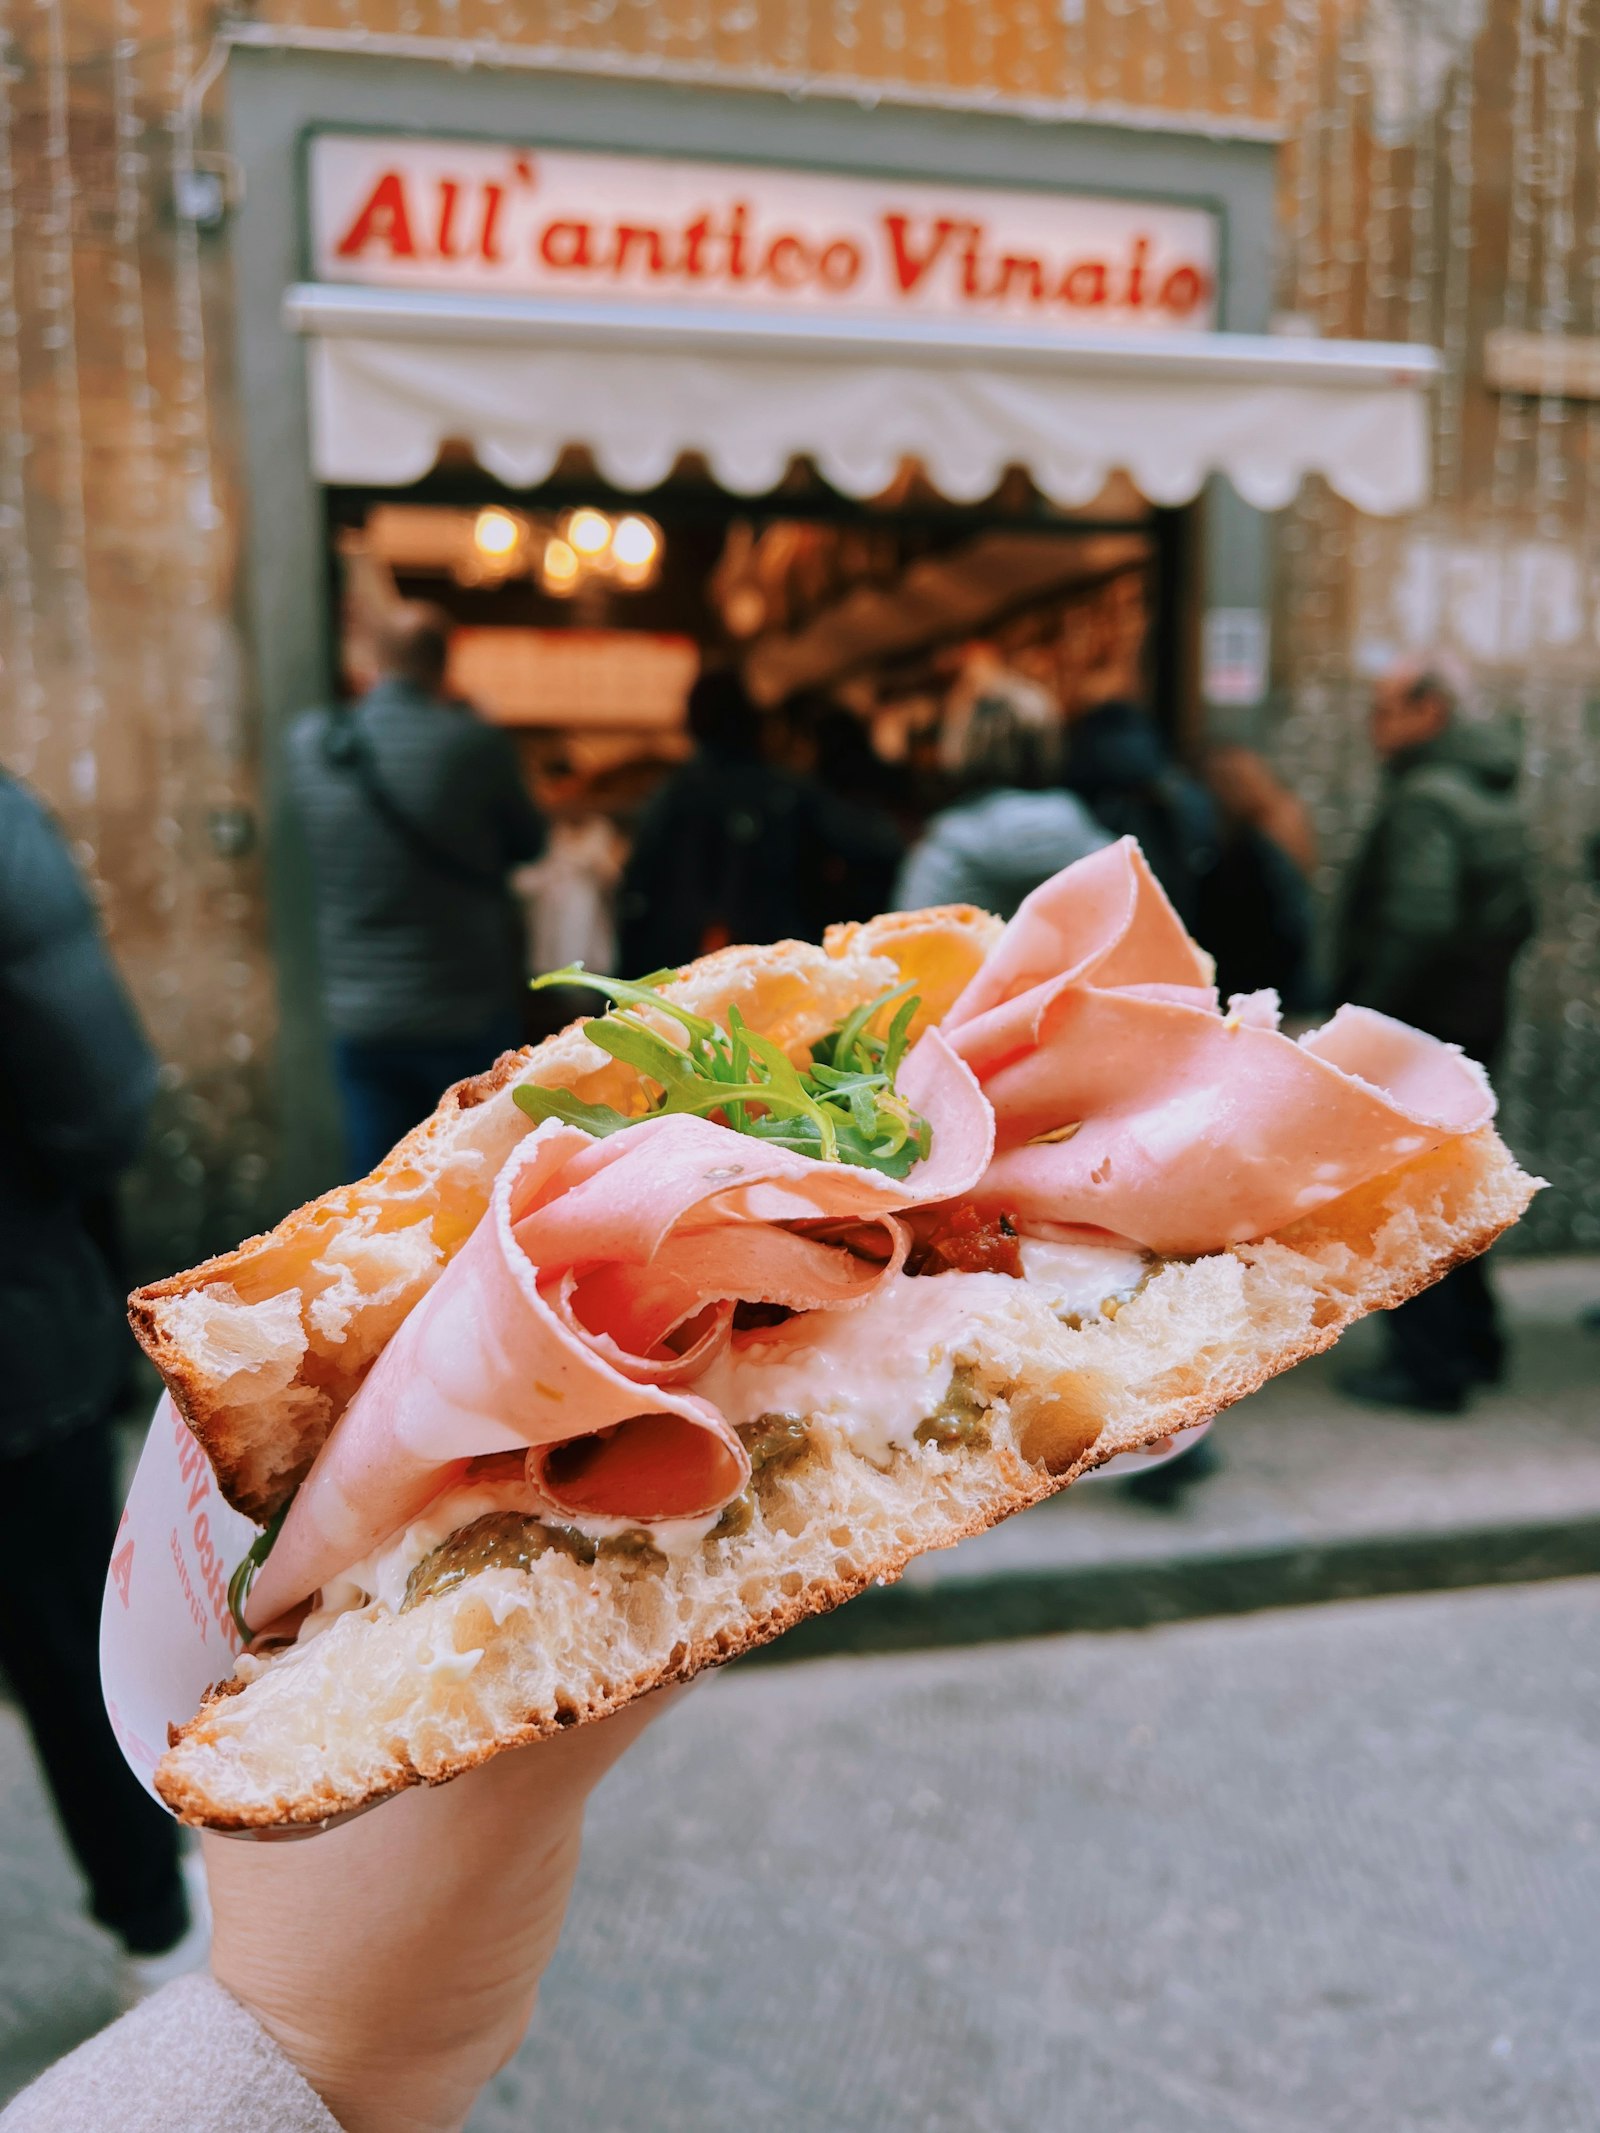
Cold fillings do best with breads that stay sturdy: ciabatta, sourdough, rye, or toasted hoagie rolls. If you’ll toast or grill the sandwich, go slightly sturdier-so it can handle contact heat without turning to crumbs.
-
Prepare your spread.
A spread isn’t just flavor-it’s a moisture management tool. Use enough to season, but not so much that it floods the bread. Classic moves: mayo + mustard, hummus + lemon, pesto + yogurt, or a thin layer of sauce plus dry add-ons.
-
Cook or prep your main (if needed).
Warm sandwiches taste better when the main is properly heated through. If you’re adding deli meats or fully cooked protein, you’re aiming for temperature harmony, not re-cooking everything to dryness.
-
Layer for texture, not chaos.
Use this order: spread → chewy/structured layer (cheese or greens) → main → juicy layer (tomatoes, pickles, slaw) → finishing crunch (chips, toasted nuts, crisp lettuce). The goal: keep moisture and crunch in their lanes.
-
Control the “soggy sandwich” risk.
Two practical rules: keep wet ingredients drained, and always add crunchy items last. If you’re using tomatoes or pickles, pat them dry. If your sauce is very thin, reduce it or apply it with a light hand.
-
Toast or grill (optional, but usually worth it).
Toasting improves flavor and helps set the layers. Use medium heat and keep an eye on browning-bread can go from perfect to overdone quickly. Press lightly so fillings make contact without squeezing out everything important.
-
Rest briefly, then slice.
Give it 30-60 seconds so the fillings settle. Then slice-diagonally for diner vibes, straight for clean handheld portions.
How to customize with unique flavor ideas
Once you have the method, flavor comes from controlled experiments. Try swapping one variable at a time-bread, spread, main, or crunch-so you know what changed.
Flavor combo ideas to remix
- Smoky + bright: roasted red pepper spread + sliced turkey/chicken + arugula + a squeeze of lemon.
- Crunchy + creamy: aioli (or yogurt-based sauce) + crispy fried onions + cheese + lettuce.
- Sweet-savory: barbecue sauce + pulled pork or mushrooms + pickles for contrast.
- Herby + tangy: pesto + mozzarella + tomato + basil (finish with pepper).
Want a quick “sanity check” before you build? Make sure every bite has at least one creamy element and one crisp element. If your sandwich lacks one of those, you’re one tweak away from upgrading it.
Conclusion: Your perfect sandwich is a repeatable process
The perfect sandwich isn’t magic. It’s a sequence: plan the components, pick the right bread, manage moisture, layer for texture, then toast (if it helps). Use this guide as your baseline, and treat each sandwich like a test where flavor is the metric.
- Use spread to season and manage moisture.
- Layer structure first, then main, then juicy, then crunch.
- Toast thoughtfully and rest briefly before slicing.
If you’re building your home menu, you can also explore more quick inspiration on the blog and learn more about the site at our story.
HTML;